
Kitchen chair reupholstery


The first step for me it was to remove the staples, because in my country the construction of a chair is different from what i have seen on internet - the top is not removable. Depending from where you are from the first step may be removing the top part from the chair - this will make this project easier because you wont have to move the chair when your stapling it.
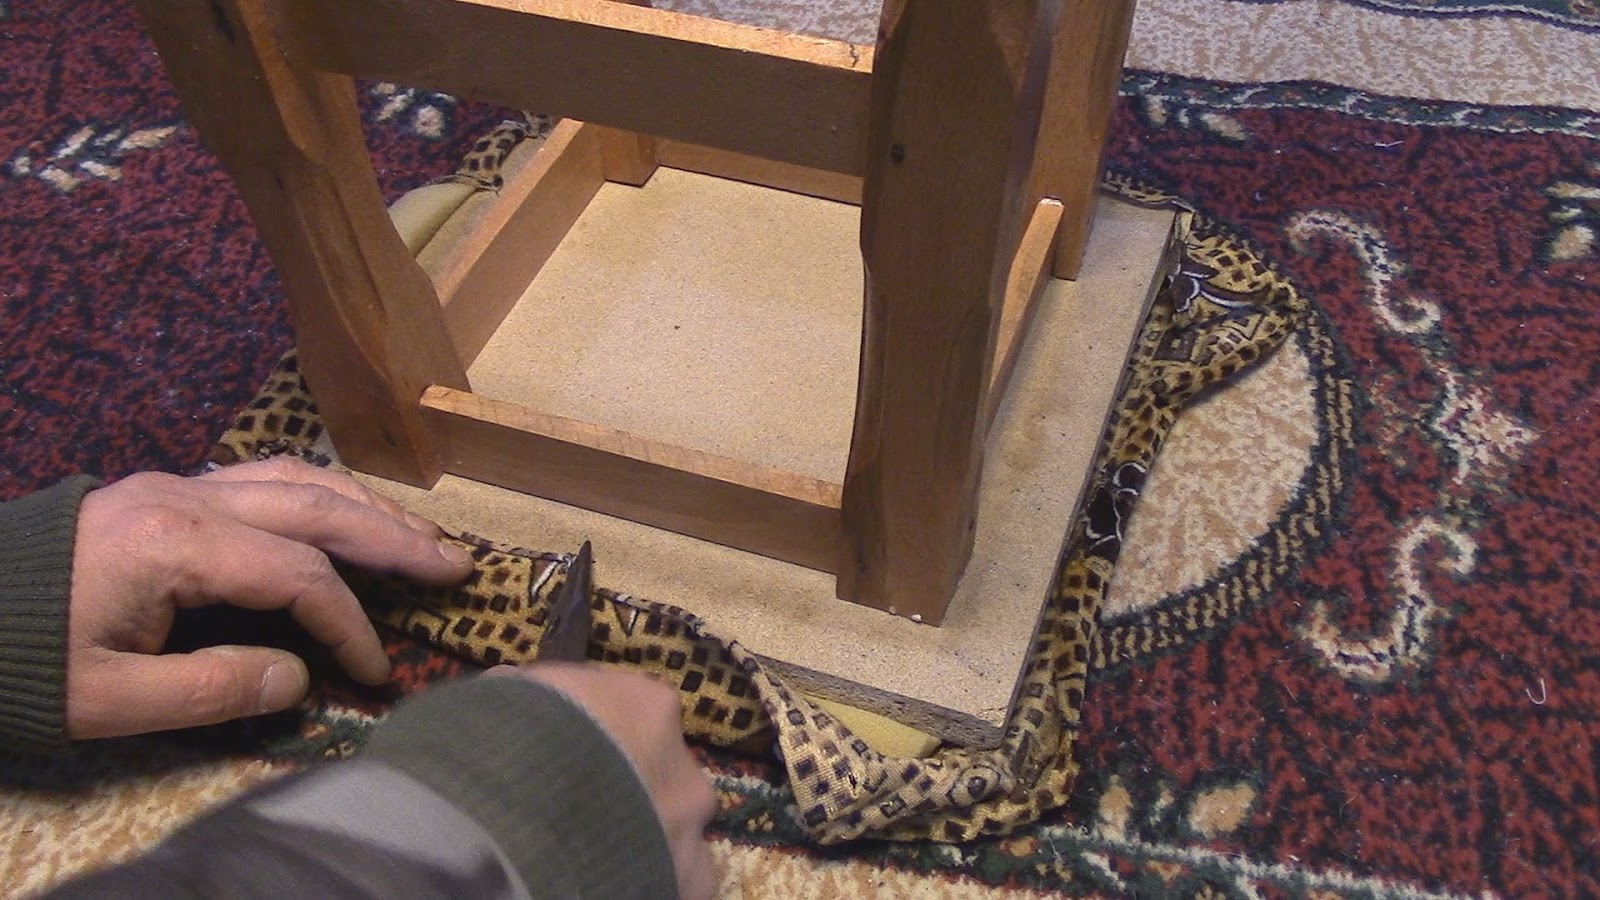
For this part i've used a flat head screwdriver and needle nose pliers, with the screwdriver i was lifting a bit the staple and with the needle nose pliers taken it out.


After removing all the staples from the chair top i've laid down the foam that i've got from the bricolage shop and marked it with 3 cm overhang.

Using this method i've got really clean cuts.
At this point i've cutted also the batting and the fabric. Both of them were bigger than the piece of foam that i've cutted earlier.
All the pieces are ready now for assembly:
- foam stapled on the edge of the chair top (using a pneumatic stapler)
- batting stapled over the foam
- to staple the fabric i've started from the middle of each side and work my way towards the corners.
 |
 |
 |
The corners were a little trickier to do but with patience they are doable.
Taking your time is a good practice for every project so the final project looks like this:
 |
 |
 |
Thanks for reading.